
Starting Seeds Indoors for a Thriving Spring Garden
There’s nothing quite like the taste of a homegrown tomato, the crisp bite of fresh lettuce, or the aroma of basil picked straight from the plant. For me, gardening isn’t just a hobby—it’s a way to bring the highest-quality ingredients into my kitchen while staying connected to the natural rhythm of the seasons.
And it all begins with seeds.
Starting seeds indoors allows me to get a jumpstart on the growing season, ensuring my plants are strong and healthy by the time they’re ready for the garden. If you’re new to seed starting, don’t worry—it’s easier than you might think! Below, I’ll walk you through my process step by step, from choosing the best seeds to nurturing delicate seedlings until they’re ready for transplanting.
Why Start Seeds Indoors?
Starting seeds indoors has several benefits:
- Earlier Harvests: By the time the weather is warm enough to plant outside, your seedlings will already be well-established.
- Stronger Plants: Seedlings started indoors have a controlled environment, meaning they grow stronger and more resilient.
- Greater Variety: When you start from seed, you have access to heirloom and specialty varieties that aren’t always available at garden centers.
- Cost Savings: A single packet of seeds can produce dozens of plants for a fraction of the cost of buying seedlings.
What You’ll Need

Before you begin, gather your supplies:
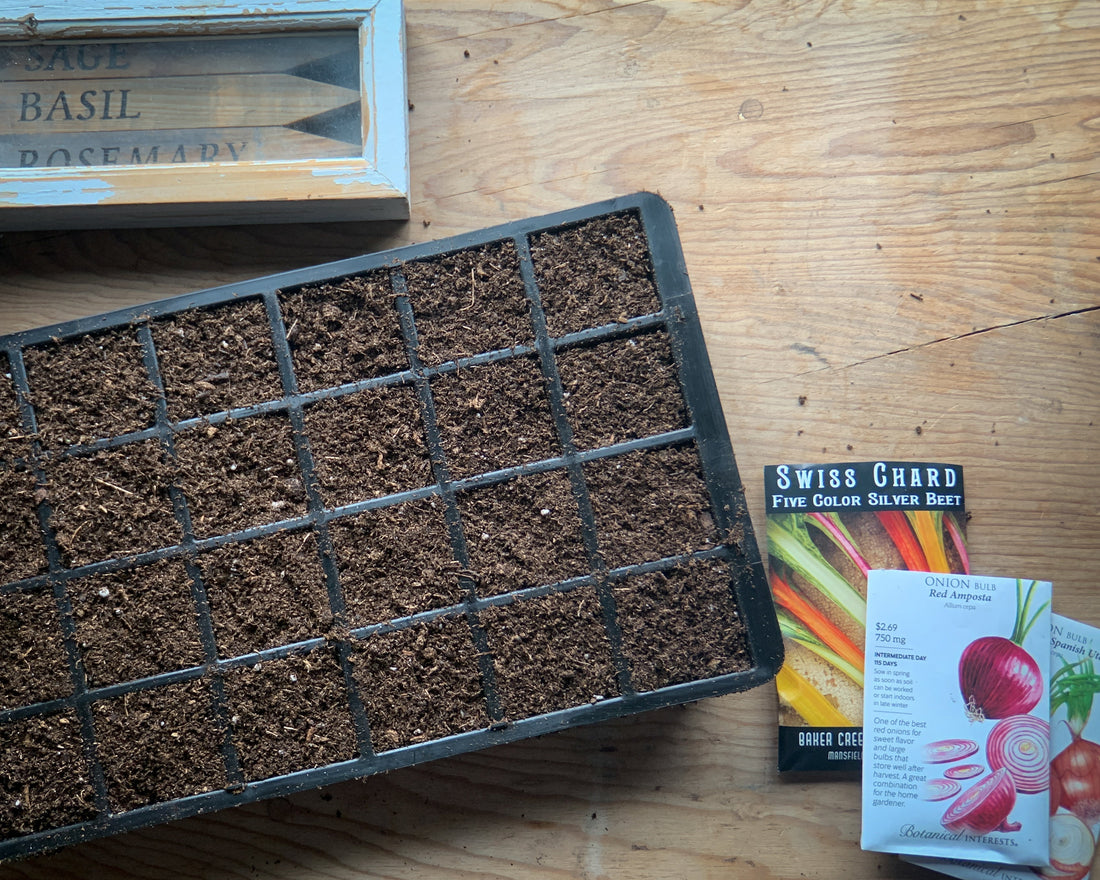
- Seed-starting trays or small containers with drainage holes
- Organic seed-starting mix because it's light and well-draining
- Organic seeds. I love Baker Creek Seeds and Botanical Interests
- Vermiculite, which helps prevent mold and damping-off of delicate seedlings
- A grow light for strong, healthy shoots
- A spray bottle or watering can for gentle watering
Step 1: Pick What and When to Plant
Before I jump into planting, I like to think about the ingredients I truly love to eat. There’s no reason to plant herbs and vegetables that you don’t absolutely love. As a gardener, you're the artist, so paint a garden that is full of the wonderful flavors that you like best. Once I’ve chosen my favorites, I use a planning calendar like Clyde's Garden Planner to determine my last average frost date and count back from there. This helps me figure out the best time to start each type of seed indoors so they’ll be strong and ready for transplanting when the time comes. Each seed packet will usually have similar guidance on the back for when to start indoors or when to plant outdoors.

For my spring garden, I start:
- Early: Onions
- Mid-spring: Lettuce, chard, kale
- Six weeks before the last frost: Tomatoes, peppers, and herbs
Step 2: Prepare Your Trays and Soil

Fill your seed-starting trays with organic seed-starting mix. This soil is lighter than regular potting mix, which helps fragile seedlings establish roots more easily. Before planting, I like to sift my soil to remove any big pieces of wood and bark then pre-wet the soil by mixing it with water until it’s evenly moist but not soggy.
Step 3: Plant Your Seeds

Follow the guidance on the back of the seed packet for how deep to plant your seeds. Place 2-3 seeds per cell in your trays. If more than one seed sprouts, you can thin them later by snipping the weaker seedlings at the base.
Cover the seeds lightly with soil, then wet the top of the soil well with a gentle mist from a spray bottle. This helps to not disturb the tiny seeds because pouring water over the top can easily wash the little guys away. Finally, top each cell with a thin layer of vermiculite to help retain moisture and prevent fungal issues before covering with a plastic dome. Because our seedlings like a damp, greenhouse environment to get started, they can sometimes stay too wet, and the vermiculite helps to prevent damping-off.

Step 4: Provide Light and Warmth
Place your trays under a grow light to ensure your seedlings get 12-16 hours of light per day. A sunny window may not provide enough light, so I've found artificial lighting is the best way to prevent leggy, weak plants. I have this grow light system, but honestly, you can use whatever size works best for you and still get fantastic results.
Temperature is also important—most seeds germinate best between 65-75°F, but many summer vegetable like pepper and tomatoes like warmer soil temps. If needed, use a seedling heat mat under your seed tray to provide consistent warmth for better germination of summer crops.

Step 5: Water with Care
Check your trays daily and keep the soil evenly moist, but not waterlogged. I like to water from below by using a watering basin or tray under my seedlings (these seed starting trays are great because they make the whole setup easy). That way I can just keep the tray filled with water, and the soil will wick up the moisture that's needed for the seedlings. A spray bottle or gentle watering can also work if you're watering from the top to avoid disturbing the seeds.
Step 6: Watch Them Grow!
In a few days to a couple of weeks (depending on the seed type), you’ll start to see tiny green shoots emerging. Once your seedlings develop their first set of true leaves, it’s time to start thinning them by snipping the weaker ones, leaving the strongest seedling in each cell.
Step 7: Prepare for Transplanting
As your plants grow, they’ll eventually need to be hardened off before moving outdoors. About one week before transplanting, start setting your seedlings outside for a few hours each day, gradually increasing their exposure to sun and wind. This helps them adjust to outdoor conditions and prevents transplant shock.
Final Thoughts
Starting seeds indoors is one of the most rewarding ways to kick off the growing season. Honestly, just the smell of the fresh soil this time of year gets me so excited for spring and working outside in the garden! There’s also something truly special about nurturing a tiny seed into a thriving plant that will eventually feed you and your family. Plus, knowing exactly where your food comes from—and that it was grown with care—makes every meal that much more satisfying.
This spring, I’ll be sharing my seed-starting journey, along with updates from my garden, over on The Cook's Outfitter Instagram. If you’re starting seeds this year, I’d love to hear what you’re growing!
Happy planting! 🌱